Инструкция для Sony XR-CA440X
 1
1 2
2 3
3 4
4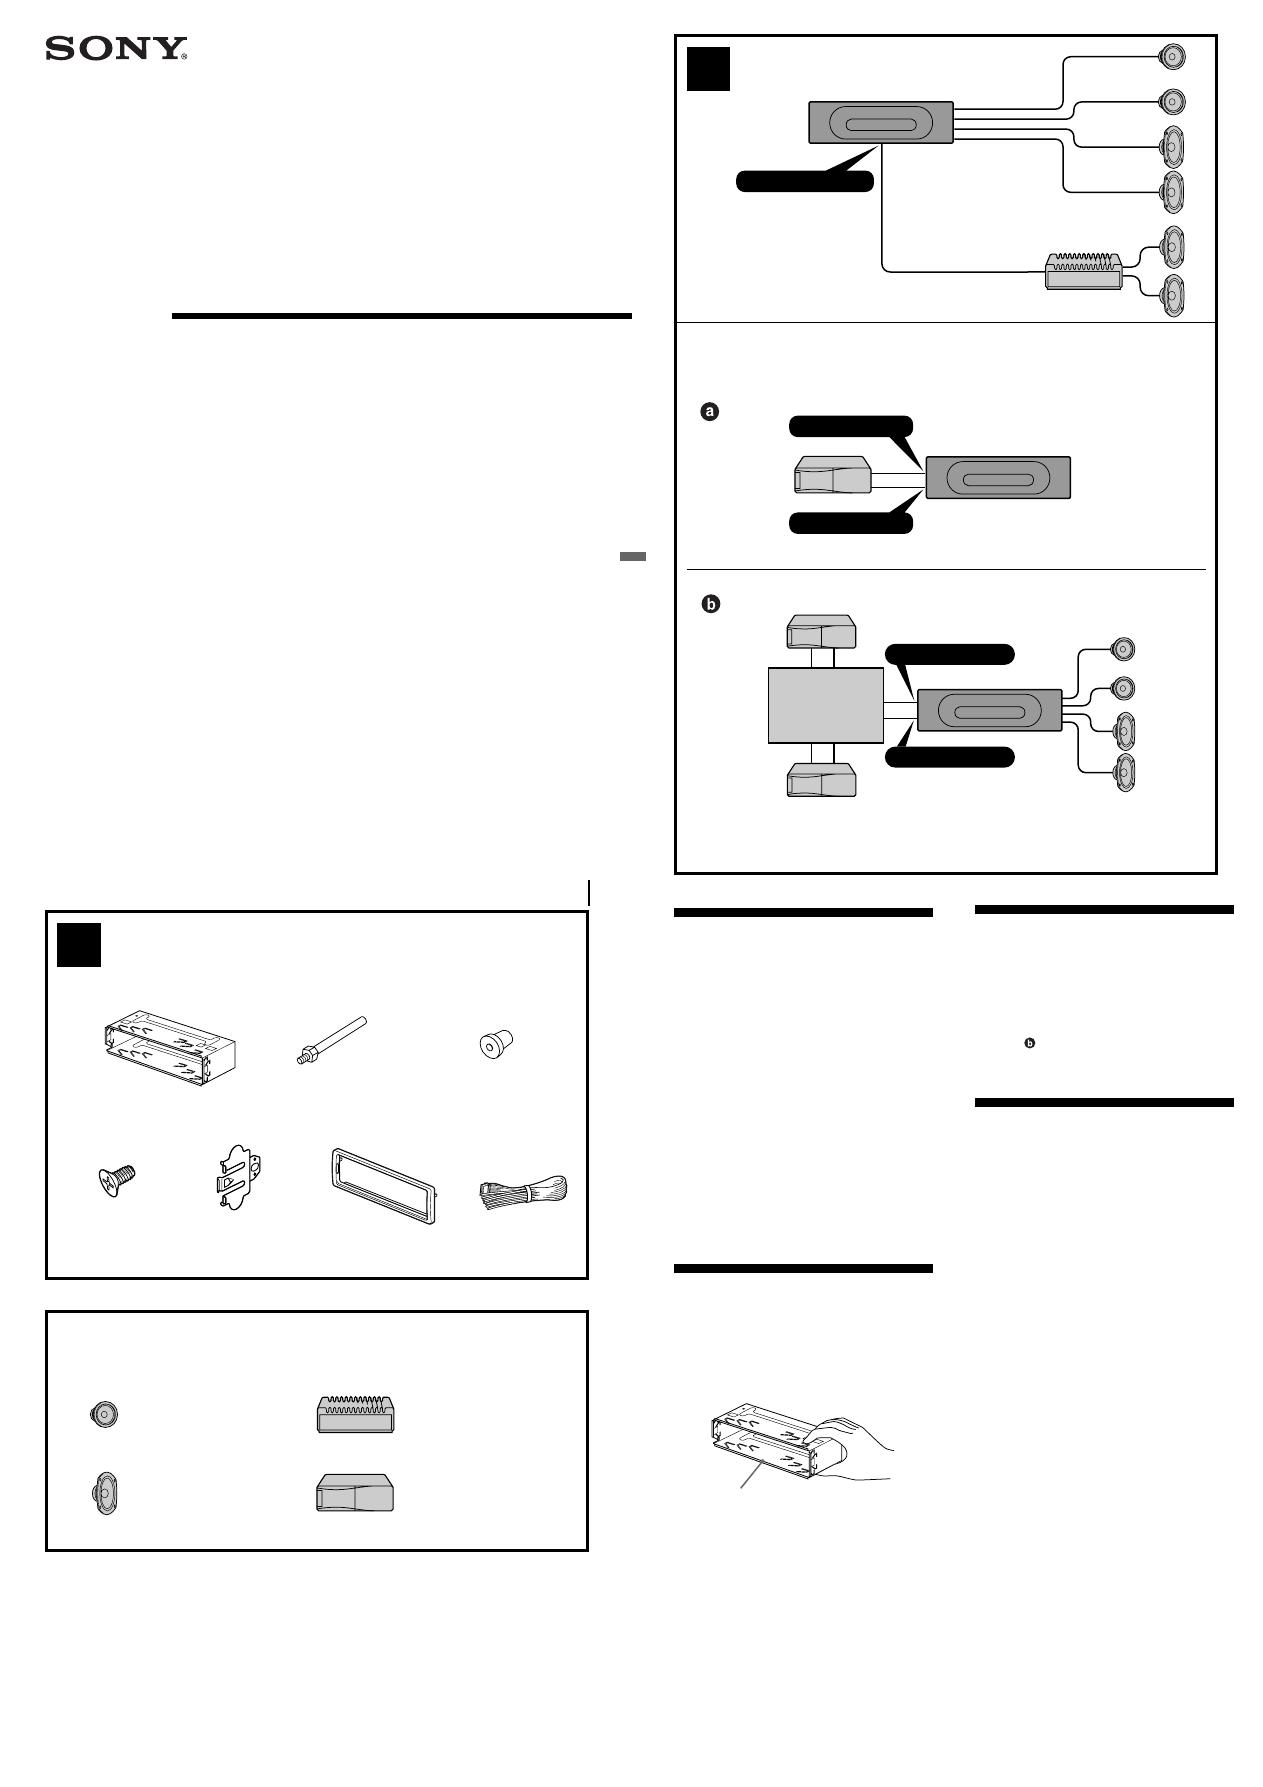
Sony Corporation © 2002
Printed in Thailand
XR-CA440X
3-238-899-11
(1)
Equipment used in illustrations (not supplied)
Аппаратура, фигурирующая в иллюстрациях (не прилагается)
Cautions
• This unit is designed for negative earth 12 V
DC operation only.
• Do not get the wires under a screw, or caught
in moving parts (e.g. seat railing).
• Before making connections, turn the car
ignition off to avoid short circuits.
• Connect the
yellow
and
red
power input leads
only after all other leads have been connected.
•
Run all earth wires to a common earth
point.
• Be sure to insulate any loose unconnected
wires with electrical tape for safety.
Notes on the power supply cord (yellow)
• When connecting this unit in combination with
other stereo components, the connected car
circuit’s rating must be higher than the sum of
each component’s fuse.
• When no car circuits are rated high enough,
connect the unit directly to the battery.
Parts Iist (
1
)
The numbers in the list are keyed to those in the
instructions.
Caution
Handle the bracket
1
carefully to avoid injuring
your fingers.
1
2
B
1
2
×
4
3
4
6
×
2
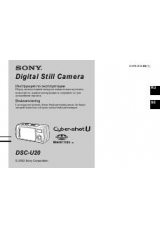
Power amplifier
Усилитель
CD/MD changer
Проигрыватель CD/MD
Front speaker
Передний громкоговоритель
Rear speaker
Задний громкоговоритель
BUS AUDIO IN
BUS CONTROL IN
AUDIO OUT REAR
BUS CONTROL IN
BUS AUDIO IN
A
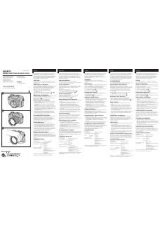
Installation/Connections
Установка/Подсоединение
FM
/
AM Cassette
Car Stereo
Connection example (
2
)
Notes
(
2
-A)
• Be sure to connect the earth cord before
connecting the amplifier.
• If you connect an optional power amplifier and do
not use the built-in amplifier, the beep sound will
be deactivated.
Tip
(
2
-B-
)
For connecting two or more CD/MD changers, the
source selector XA-C30 (optional) is necessary.
Connection diagram (
3
)
1
To a metal surface of the car
First connect the black earth lead, then connect
the yellow and red power input leads.
2
To the power aerial control lead or power
supply lead of aerial booster amplifier
Notes
• It is not necessary to connect this lead if there
is no power aerial or aerial booster, or with a
manually-operated telescopic aerial.
• When your car has a built-in FM/AM aerial in
the rear/side glass, see “Notes on the control
and power supply leads.”
3
To AMP REMOTE IN of an optional power
amplifier
This connection is only for amplifiers. Connecting
any other system may damage the unit.
4
To the +12 V power terminal which is energized
in the accessory position of the ignition key
switch
Notes
• If there is no accessory position, connect to the
+12 V power (battery) terminal which is
energised at all times.
Be sure to connect the black earth lead to it
first.
• When your car has a built-in FM/AM aerial in
the rear/side glass, see “Notes on the control
and power supply leads.”
5
To the +12 V power terminal which is energised
at all times
Be sure to connect the black earth to it first.
1
5
7
*
not supplied
не прилагается
Source selector
*
Селектор источника
Оглавление инструкции
- Страница 1 из 5
3-238-899-11 (1) 2 A AUDIO OUT REAR FM/AM Cassette Car Stereo Installation/Connections B Установка/Подсоединение BUS AUDIO IN BUS CONTROL IN BUS AUDIO IN Source selector* Селектор источника BUS CONTROL IN * not supplied не прилагается XR-CA440X Sony Corporation © 2002 Printed in Thailand 1 1 2 5 4
- Страница 2 из 5
3 Supplied with XA-C30 Прилагается к модели XA-C30 Supplied with the CD/MD changer Прилагается к проигрывателю CD/MD Source selector Селектор источника XA-C30 BUS AUDIO IN BUS CONTROL IN from car antenna от автомобильной антенны BUS AUDIO IN AUDIO OUT XR-CA440X Fuse (10 A) Предохранитель (10 А) RCA
- Страница 3 из 5
4 A B (OFF) (RELEASE) 5 1 3 2 182 4 Dashboard Приборная доска mm 4 Fire wall Огнеупорная перегородка 1 6 53 m m 2 Bend these claws outward for a tight fit, if necessary. 1 5 5 При необходимости отогните эти зажимные зубчики для обеспечения более плотной фиксации. 6 A 4 B to dashboard/center console
- Страница 4 из 5
Precautions •Choose the installation location carefully so that the unit will not interfere with normal driving operations. •Avoid installing the unit in areas subject to dust, dirt, excessive vibration, or high temperatures, such as in direct sunlight or near heater ducts. •Use only the supplied
- Страница 5 из 5